Guide to Installing Wood Flooring with Lock Click System
Introduction
The lock – click system for wood flooring installation has revolutionized the way we lay floors. Unlike traditional methods that rely on nails, glue, or staples, the lock – click system offers a more convenient, efficient, and reversible installation process. This article will provide a detailed step – by – step guide to help you successfully install wood flooring using the lock – click system.
Tools and Materials Preparation
Before starting the installation, gather the necessary tools and materials. You will need:
1. Wood flooring panels: Ensure they are of high quality and suitable for your space, with enough panels to cover the entire area, plus an additional 5 – 10% for cuts and potential replacements.
2. Tapping block and pull bar: These are essential for joining the panels together tightly. The tapping block is used to gently tap the edges of the panels, while the pull bar helps in locking the end joints.
3. Measuring tape: Accurately measure the room dimensions to calculate the amount of flooring needed and for proper layout planning.
4. Circular saw or jigsaw: Used for cutting the flooring panels to fit around obstacles, walls, and at the ends of rows.
5. Underlayment: A moisture – resistant and sound – reducing underlayment is crucial. It provides a smooth surface for the flooring and helps to prevent moisture from seeping into the wood.
6. Hammer: To assist with the tapping block when joining the panels.
7. Utility knife: Useful for cutting the underlayment to the appropriate size.
Pre – installation Steps
1. Prepare the subfloor: The subfloor must be clean, dry, flat, and free of any debris or protrusions. Check for moisture levels; if the subfloor is too wet, it can cause the wood flooring to warp or buckle. Repair any cracks or uneven areas using a self – leveling compound if necessary.
2. Acclimate the flooring: Let the wood flooring panels sit in the installation room for at least 48 – 72 hours. This allows the wood to adjust to the room’s temperature and humidity, minimizing the risk of expansion or contraction after installation.
3. Lay the underlayment: Unroll the underlayment across the subfloor, starting from one corner of the room. Overlap the edges of the underlayment by about 2 – 3 inches and secure them together using adhesive tape. Make sure the underlayment is smooth and free of wrinkles.

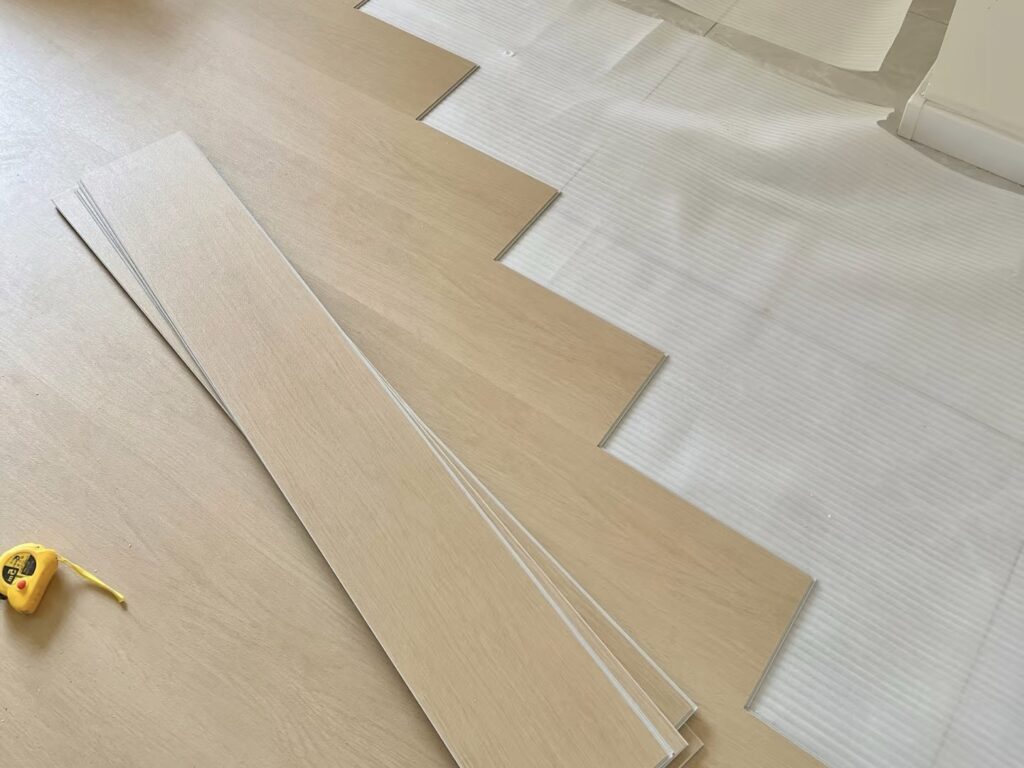
Installation Process
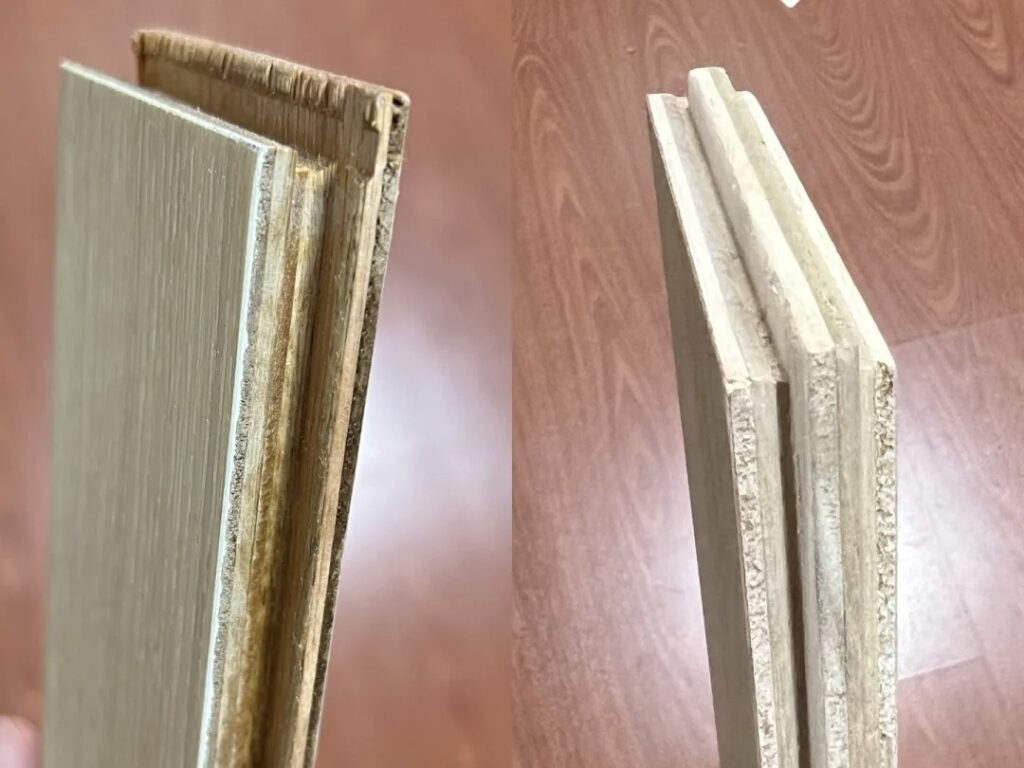
1. Start the first row: Place the first panel with the tongue side against the longest wall of the room, leaving a 3/8 – inch gap between the panel and the wall to allow for expansion. Use plastic spacers to maintain this gap. For subsequent panels in the first row, insert the tongue of one panel into the groove of the adjacent panel at a 45 – degree angle, then gently lower the panel until it clicks into place. Use the tapping block and hammer to ensure a tight fit, but be careful not to damage the edges of the panels.
2. Start the second row: When starting the second row, stagger the end joints of the panels by at least 8 – 12 inches compared to the first row. This creates a more stable and aesthetically pleasing floor. Insert the short end (groove) of the first panel in the second row onto the tongue of the last panel in the first row at a 45 – degree angle, then lower it. For the long – side connection, align the tongue of the second – row panel with the groove of the adjacent panel in the same row and use the pull bar and tapping block to lock them together.
3. Continue installing rows: Repeat the process for each subsequent row, always staggering the end joints and using the proper tools to ensure tight connections. As you progress, periodically check the alignment of the rows and the overall flatness of the floor.
4. Cutting panels: When you reach the end of a row and need to cut a panel to fit, measure the remaining distance accurately. Mark the panel with a pencil and use a circular saw or jigsaw to make the cut. Remember to maintain the 3/8 – inch expansion gap along the walls.
5. Around obstacles: For areas around pipes, vents, or other obstacles, measure carefully and create templates if necessary. Cut the panels to fit precisely around these obstacles, ensuring a snug fit while still leaving the required expansion gap.
Finishing Touches
1. Remove the spacers: Once the entire floor is installed, carefully remove the plastic spacers from along the walls.
2. Install baseboards or quarter – rounds: These not only cover the expansion gap but also give the floor a finished and polished look. Secure the baseboards or quarter – rounds to the wall using nails or adhesive, depending on the material.
Conclusion
Installing wood flooring with the lock – click system can be a rewarding DIY project. By following these steps and taking the time to prepare properly, you can achieve a beautiful, long – lasting wood floor that enhances the aesthetic appeal and value of your home. If you encounter any difficulties during the installation process, it may be advisable to consult a professional for assistance.